Building a RapidStart CRM Addon
A guide for Microsoft partners, ISVs, and developers on how to build, test, certify, and publish an addon for RapidStart CRM to Microsoft Marketplace.
We frequently get information requests from Microsoft partners, ISVs and others on how to build a RapidStart CRM addon and publish it to our fast growing user base. We are publishing a free addon to add Competitor Tracking to RapidStart CRM, so we thought we would review the steps we took to create it.
The Need
Not every customer needs to track their competitors, but some do, so we identified enough of a need for a capability to associate competitors to opportunities, and built this feature as a free addon. Obviously, you should determine that there is a need for your addon.
The Finished Product
We'll start by showing you the end result, and then go through the steps we took to create it. As you can see below, we have added our new “Competitors” table to the navigation, and created a new tab on the RapidStart CRM Opportunity form. On that tab we have created a subgrid where known competitors can be linked, and a lookup for when we lose to a known competitor. We also made use of our existing Quick Steps button control.
On the Competitor Record form we have added a few things also, including our Hashtags feature, a timeline and a subgrid of all open opportunities where this competitor is linked.
In addition, there are some workflows for incrementing the number of times we lost to a competitor. We also added a workflow that in the event a lost opportunity is re-activated, it will decrement that number. We finish the Addon off with a New Dashboard.
So now let's dissect building something similar.
Development Environments
Start by creating two Dataverse environments from the Power Platform Admin Center and installing RapidStart CRM from AppSource on both. It does not matter if these are sandbox, production or trials as long as they have a Dataverse database created. One will be used for Development of your addon, the other will be used for your Testing. You may want to install the Sample Data in both environments. In your development environment create an unmanaged solution that you will build in.
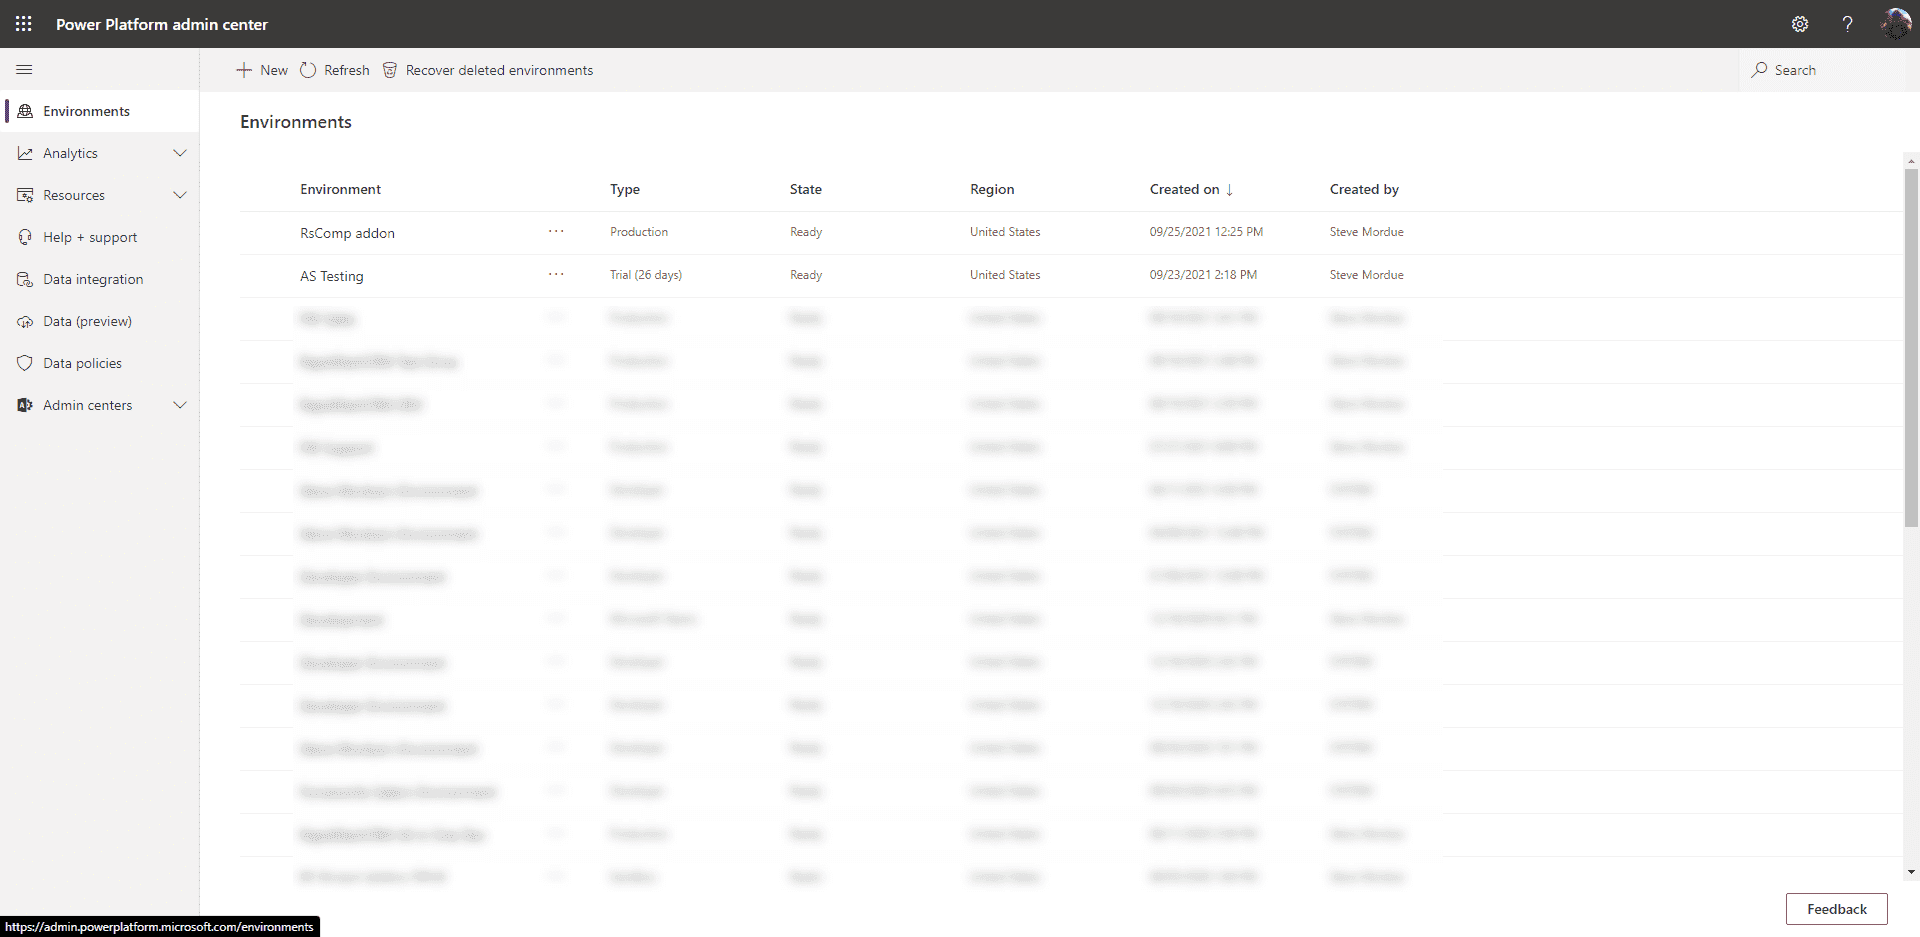
You can see above, we created a production environment called “RsComp addon” for development, and a trial called “AS Testing” for our testing.
Adding Languages
RapidStart CRM includes 13 languages, and all of them are being used around the world. If you want your addon to be available to any or all of these languages, you should add them to your development environment. This is done via Advanced Settings → Administration → Languages.
The languages that RapidStart CRM supports are:
Arabic, Dutch, Finnish, French, German, Italian, Japanese, Norwegian, Portuguese, Russian, Spanish, Swedish, and English (base language).
After you add your supported languages, and have completed your development work, export the translations file from your solution. Edit the strings to the corresponding languages, and then reimport the translations file.
Adding RapidStart CRM Components
All of RapidStart CRM's components are 100% customizable. To keep your addon “slim”, only add the components and/or sub-components that you need to actually modify. If you plan to use some components like the Quick Steps Control, it is not necessary to add that control to your solution — only add items you will be modifying.
Ideally, you would include the RapidStart and add your capabilities to these. Building a separate app could have cost implications to the customer.
Adding New Components
If you are building an addon to RapidStart CRM you most likely will have new Tables, Columns, Forms, Views, Workflows, Plugins, etc that are related to your addon. All of these will be created in your unmanaged solution. Review the optional, but highly recommended, design standards for RapidStart CRM so your addon looks native to RapidStart CRM.
Testing your Addon
Export your finished solution as “Managed” to your local machine. Then Import your managed solution into your test environment where RapidStart CRM is also installed. Review any import errors and go back to your development environment and fix. Repeat this process until your addon not only installs, but works the way you intended it to. In addition, you should test uninstalling your addon.
AppSource
The process for publishing an app to AppSource is documented here. To make sure your addon appears in searches for RapidStart CRM, include the word “RapidStart” in your listing title.
Since RapidStart CRM is a pre-requisite for your addon, you should add the following to your AppSource Package (example below):
<?xml version="1.0"?>
<configdatastorage xmlns:xsi="http://www.w3.org/2001/XMLSchema-instance"
  xmlns:xsd="http://www.w3.org/2001/XMLSchema"
  installsampledata="false"
  waitforsampledatatoinstall="false"
  performdependencychecks="true">
  <solutions>
    <configsolutionfile
      solutionpackagefilename="your-addon_managed.zip"
      publishworkflowsandactivateplugins="true"
      missingdependencybehavior="Skip">
      <dependencyoverrides>
        <versioncheck uniquename="RapidStart CRM" minversion="00.00.00.00" />
      </dependencyoverrides>
    </configsolutionfile>
  </solutions>
</configdatastorage>
Make sure to enter the current version of RapidStart CRM that your addon was built on in minversion above.
RapidStart CRM Certified Addon
When you publish an app in AppSource, it goes through Microsoft's certification process. When it passes, you will be given the opportunity to preview your listing before you click to go-live. If you would like your addon to be “Certified” by us, then before go-live, send us the preview link. We will install your addon from the AppSource preview into our test environment and make sure it works. Our testing is limited to Installing and Uninstalling only — functionality is on you.
When your addon passes our tests, you will be authorized to use our green helmet logo to indicate that your Addon has been “Certified” by us. It will also stand out nicely on the search results page.
This is not a requirement, but it will signify to our users that we have tested your addon.
Don't Forget! Checklist
In working on our own Addons, and helping others, we have discovered a few common issues you should check before you are done:
- Confirm that you have added your Custom Components to the RapidStart CRM Apps.
- Make sure you have added your custom entities and processes to any relevant RapidStart CRM Security Roles.
- If you created an Addon App, make sure you enabled relevant security roles for it.
- If you created a Custom Security Role, make sure its name begins with “RapidStart CRM” so it will appear to Power Users in the Settings area.
How Can We Help?
In addition to being an ISV ourselves with RapidStart CRM, our parent, Forceworks is also a highly skilled Custom Project Services shop, and a Microsoft Gold Application Development Partner. We can offer you consulting on building and GTM for your addon, or our development services to build it for you.
Wanna talk about it? We love hearing from RapidStart CRM addon creators! Click here to schedule a free exploratory call with our Microsoft Business Applications MVP/CEO.