Using Power Automate with RapidStart CRM — Part 1: Flow from a Template
Power Automate is a powerful automation tool that works hand-in-hand with RapidStart CRM. In Part 1, we cover connectors, the Power Automate interface, and how to build your first Flow from a pre-built template.
To demonstrate how you can easily customize RapidStart CRM to meet your needs, we created this “Tips and Tricks” Series. In this series we will outline some simple-to-perform solutions to common things customers ask about RapidStart CRM. Enjoy!
Power Automate
Power Automate is a part of the Microsoft Power Platform, and works hand-in-hand with RapidStart CRM. If you read our previous post in this series, we used Power Automate to connect a Web Form to RapidStart CRM. But that was just scratching the surface of what could be done with this “automation” component. For this Part 1, we will focus on making a Flow from a Template.
Connectors
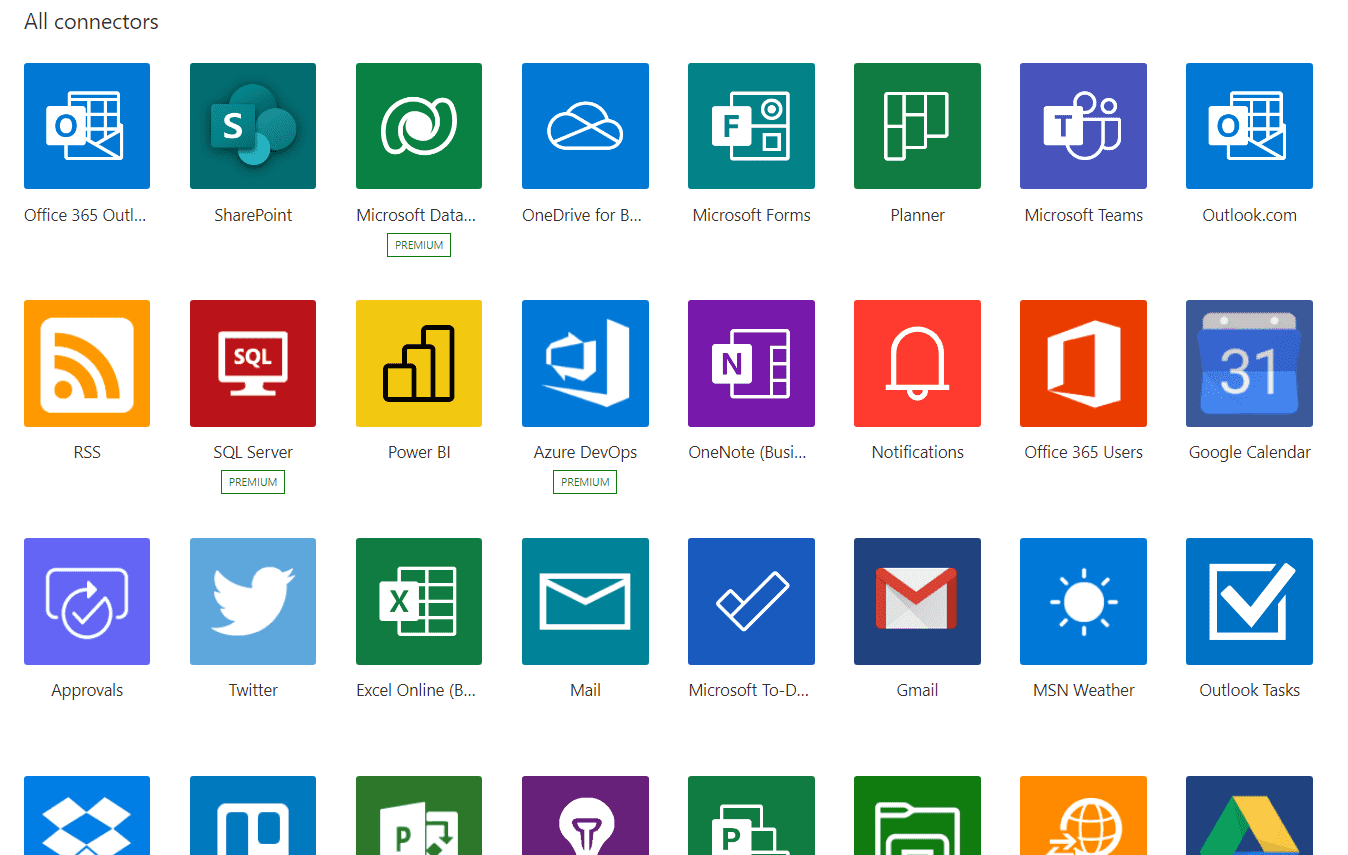
A key thing to understand is the concept of a “Connector”. A connector is basically a bridge between one app over to one or more other apps. While most of the Microsoft services are available as connectors, these are not limited to Microsoft by any means. As of this writing there are over 400 of these connectors. Here's a screenshot of just a few:
Power Automate Interface
First you should get familiar with the Power Automate interface. You can login here to get to the page shown below. (You will want to confirm that you are connected to your RapidStart CRM environment.)
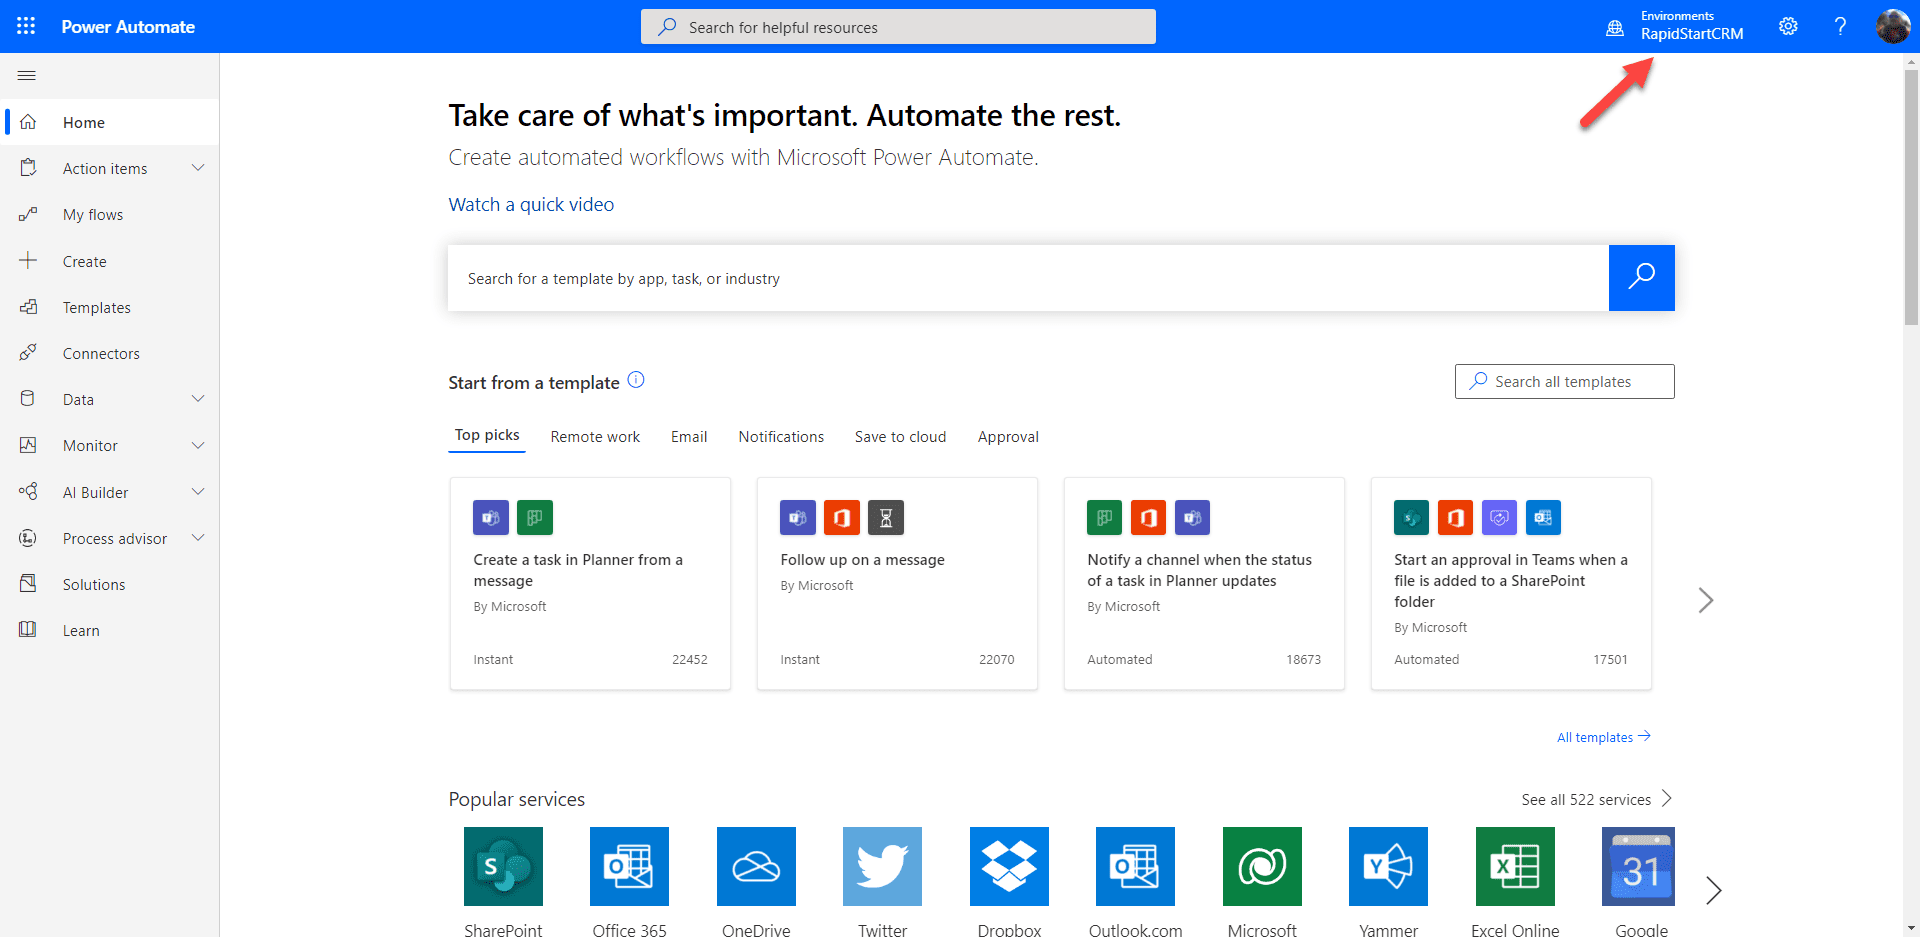
There are quite a few things to explore in the Power Automate landing page above. There are many pre-built templates for many common automation tasks you can explore. For RapidStart CRM, there are also many pre-built templates available. To view them, click on “Templates” in the sidebar.
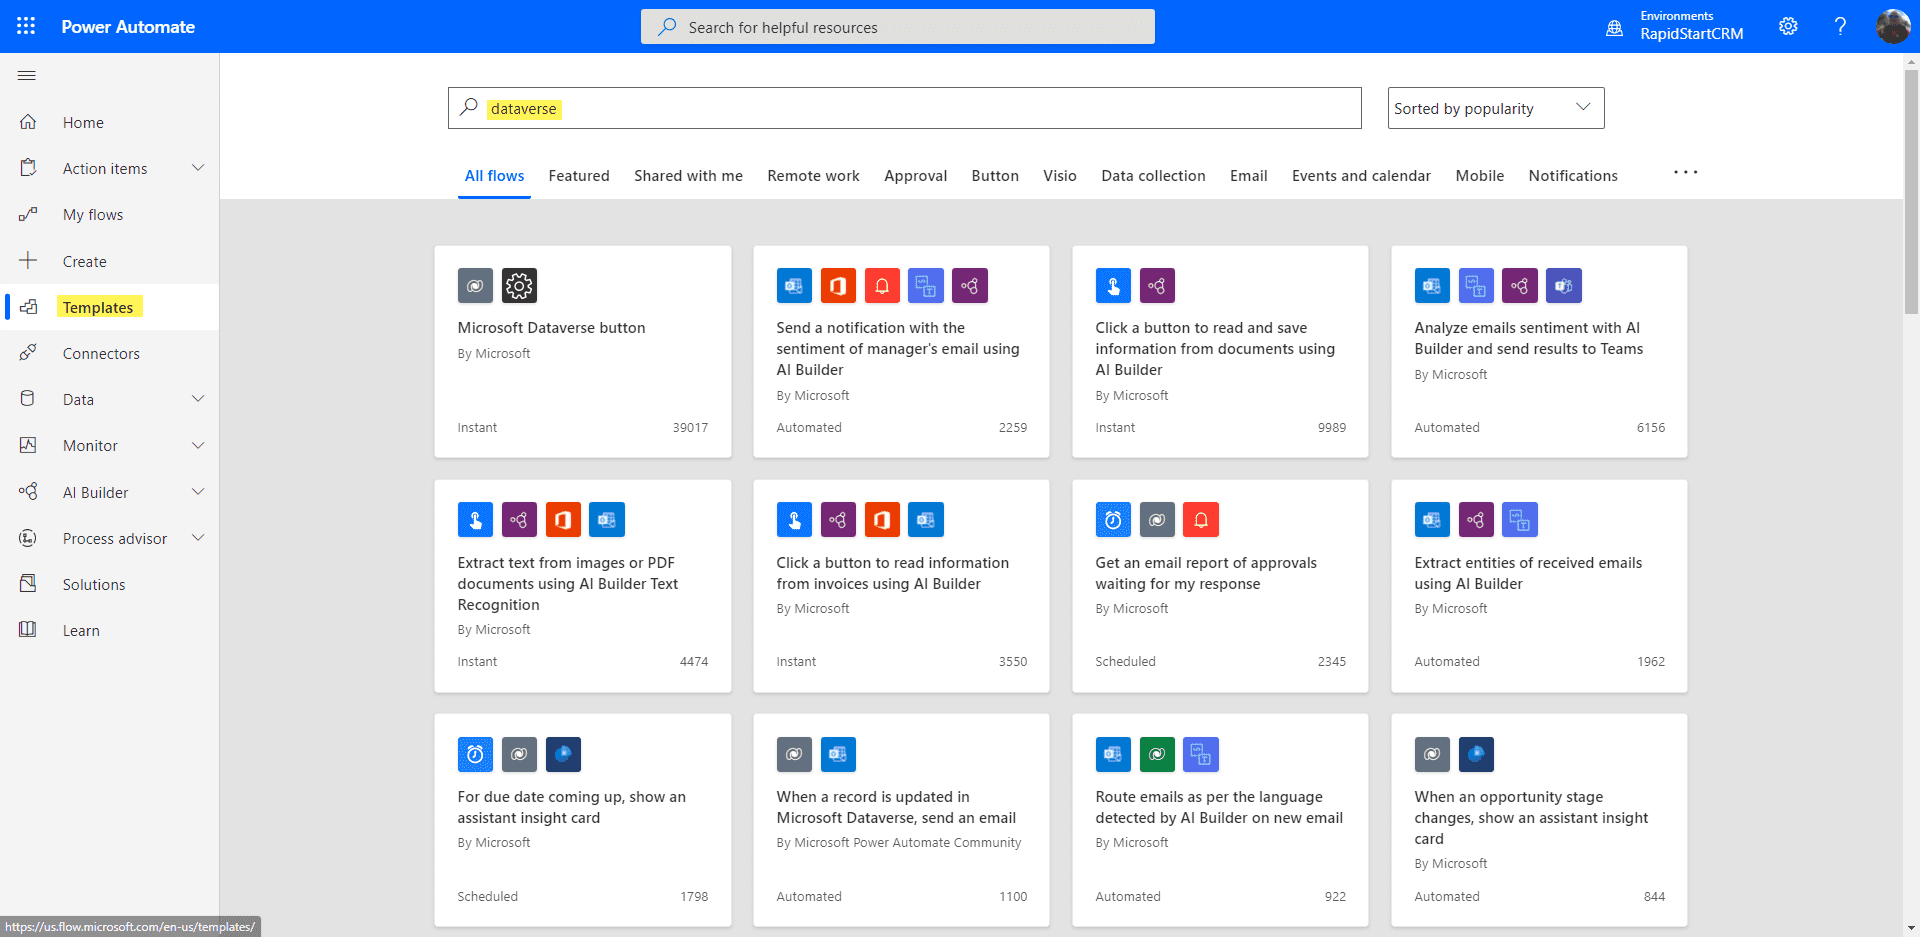
Some of these templates assume you are using Dynamics 365 apps specifically, and will not work with RapidStart CRM without some tweaks. Also many of these assume you are using some other services of the Power Platform like AI Builder, or other services of Microsoft Cloud like Office 365.
Option 1: Start with a Template
To get the feel for this quickly, you can start with a template. Let's try that with a simple one: “When a record is updated in Microsoft Dataverse, send an email”. This is a pretty common desire.
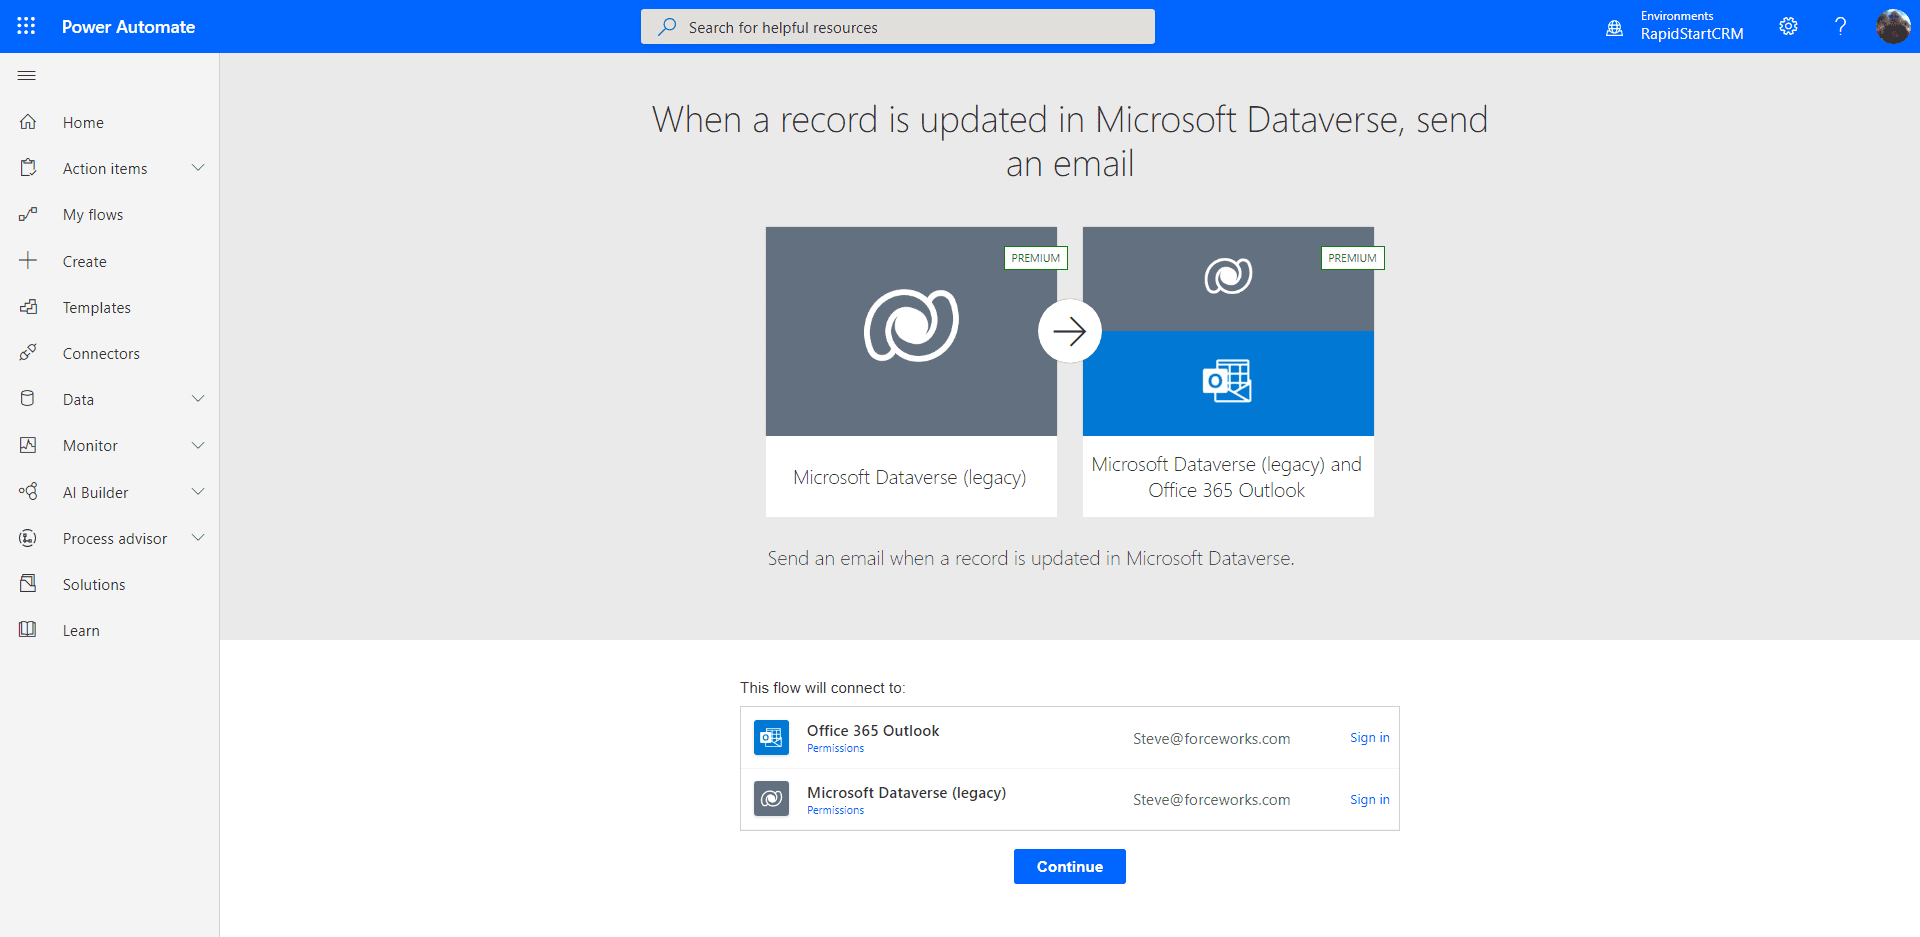
The first thing you will be asked to do is “sign in” to any connected services this template uses to make the connections. After you sign in you can click “Continue” to be presented with the page below.
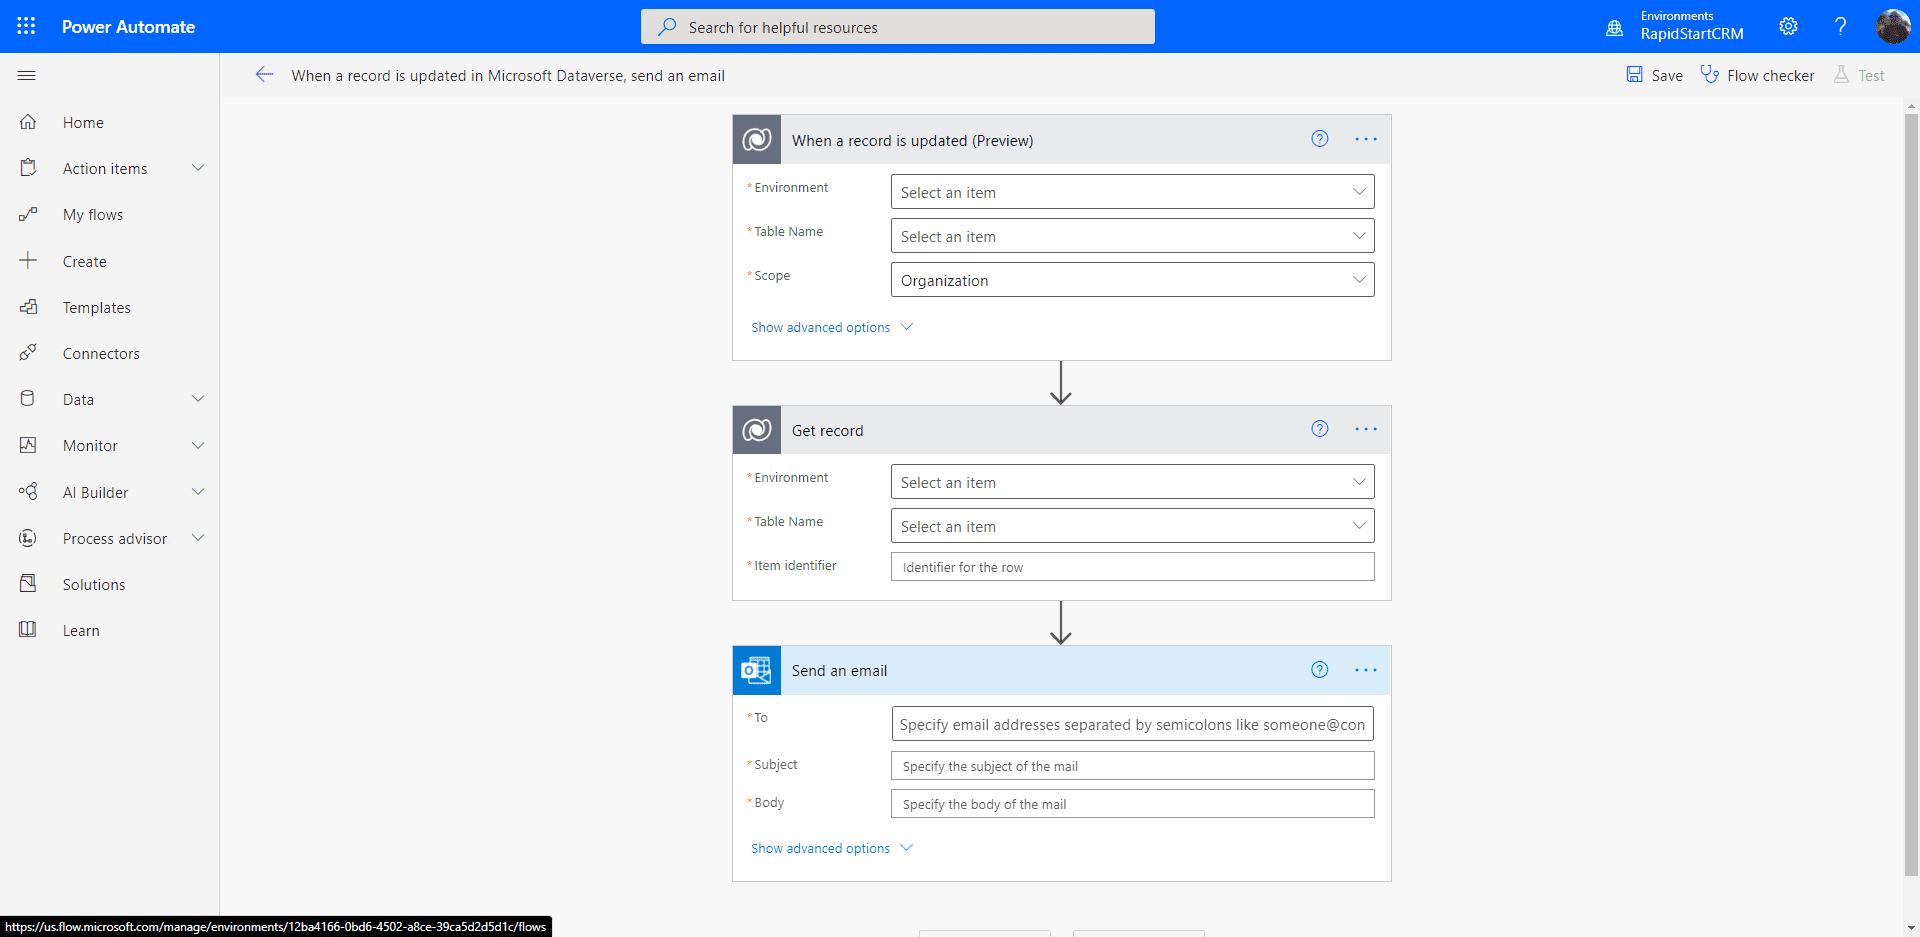
This looks more intimidating than it actually is.
- In the “Environment” column, select “Current”.
- In the “Table Name” column, select the table that you want to get notified for. For example, “Cases”.
- You can leave the “Scope” as “Organization”
- In the “Environment” column of the next section, also select “Current”.
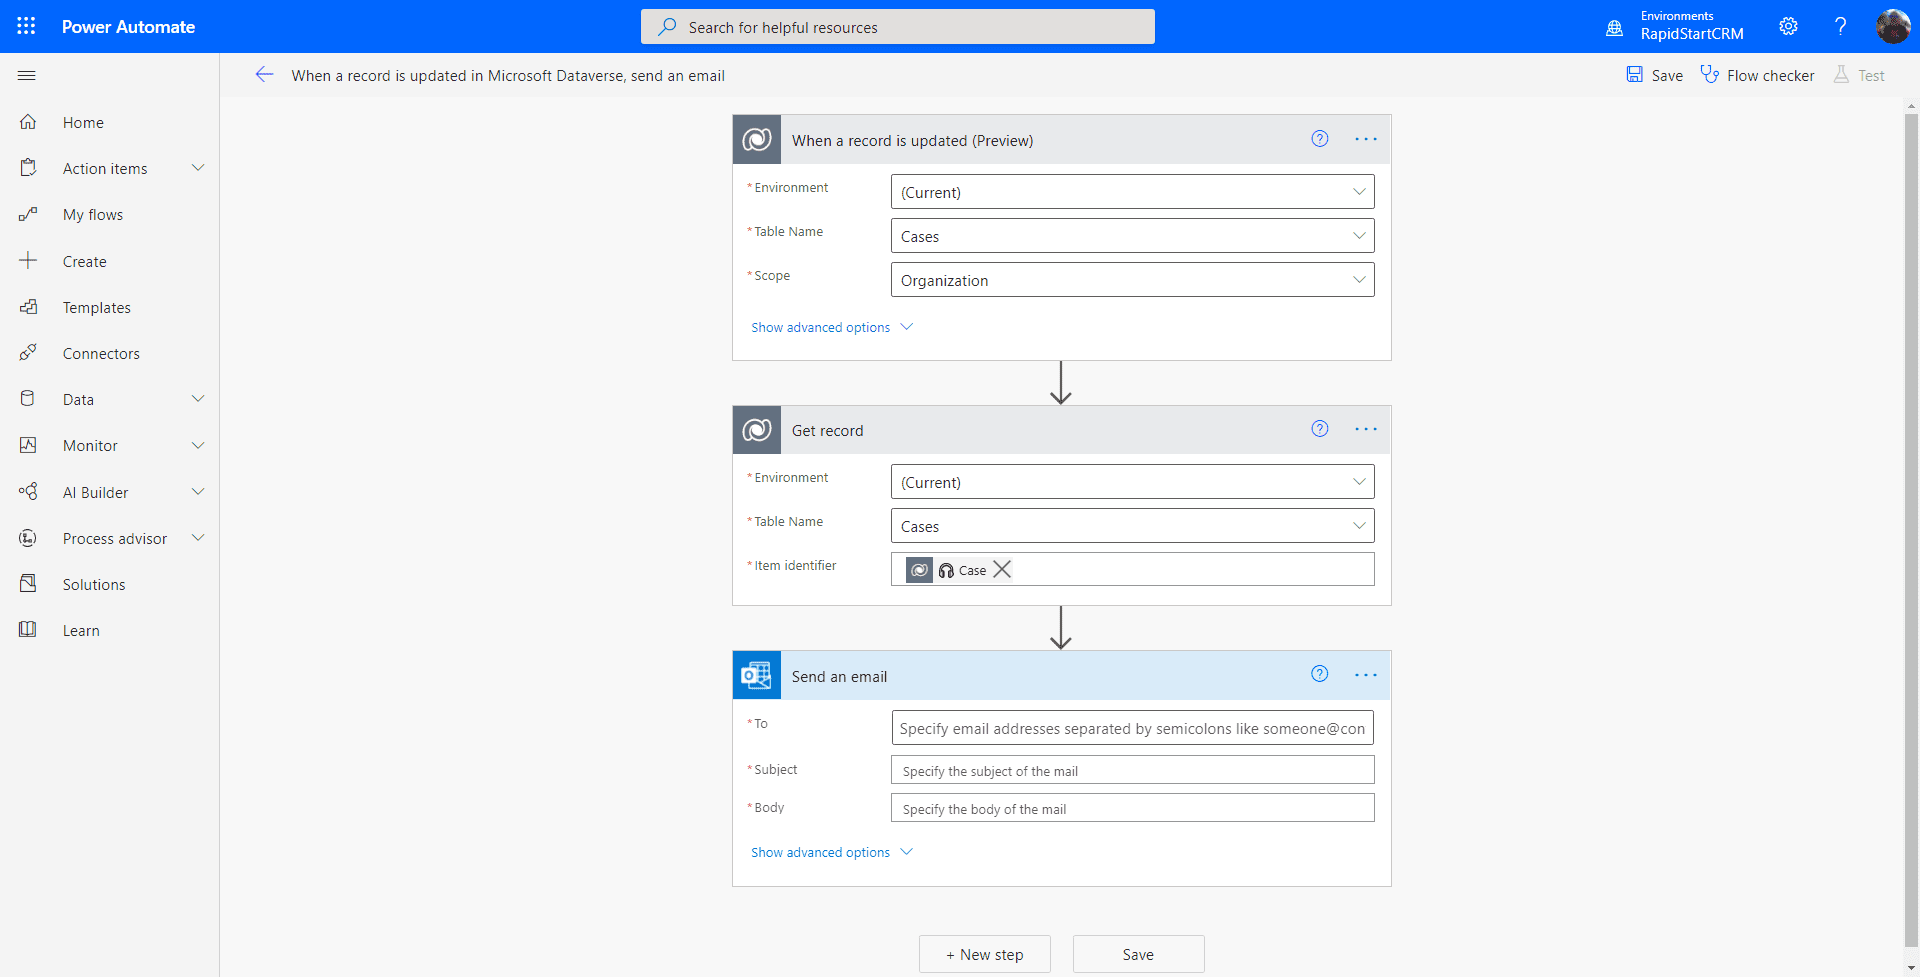
Now let's take care of the email section by filling in the 3 necessary columns.
- In the “To” column, you can start typing the user(s) that you want to get this notification, and select them.
- Like any Email, the Subject is the same
- In the body, you can include information from the Case record by using the dynamic content picker
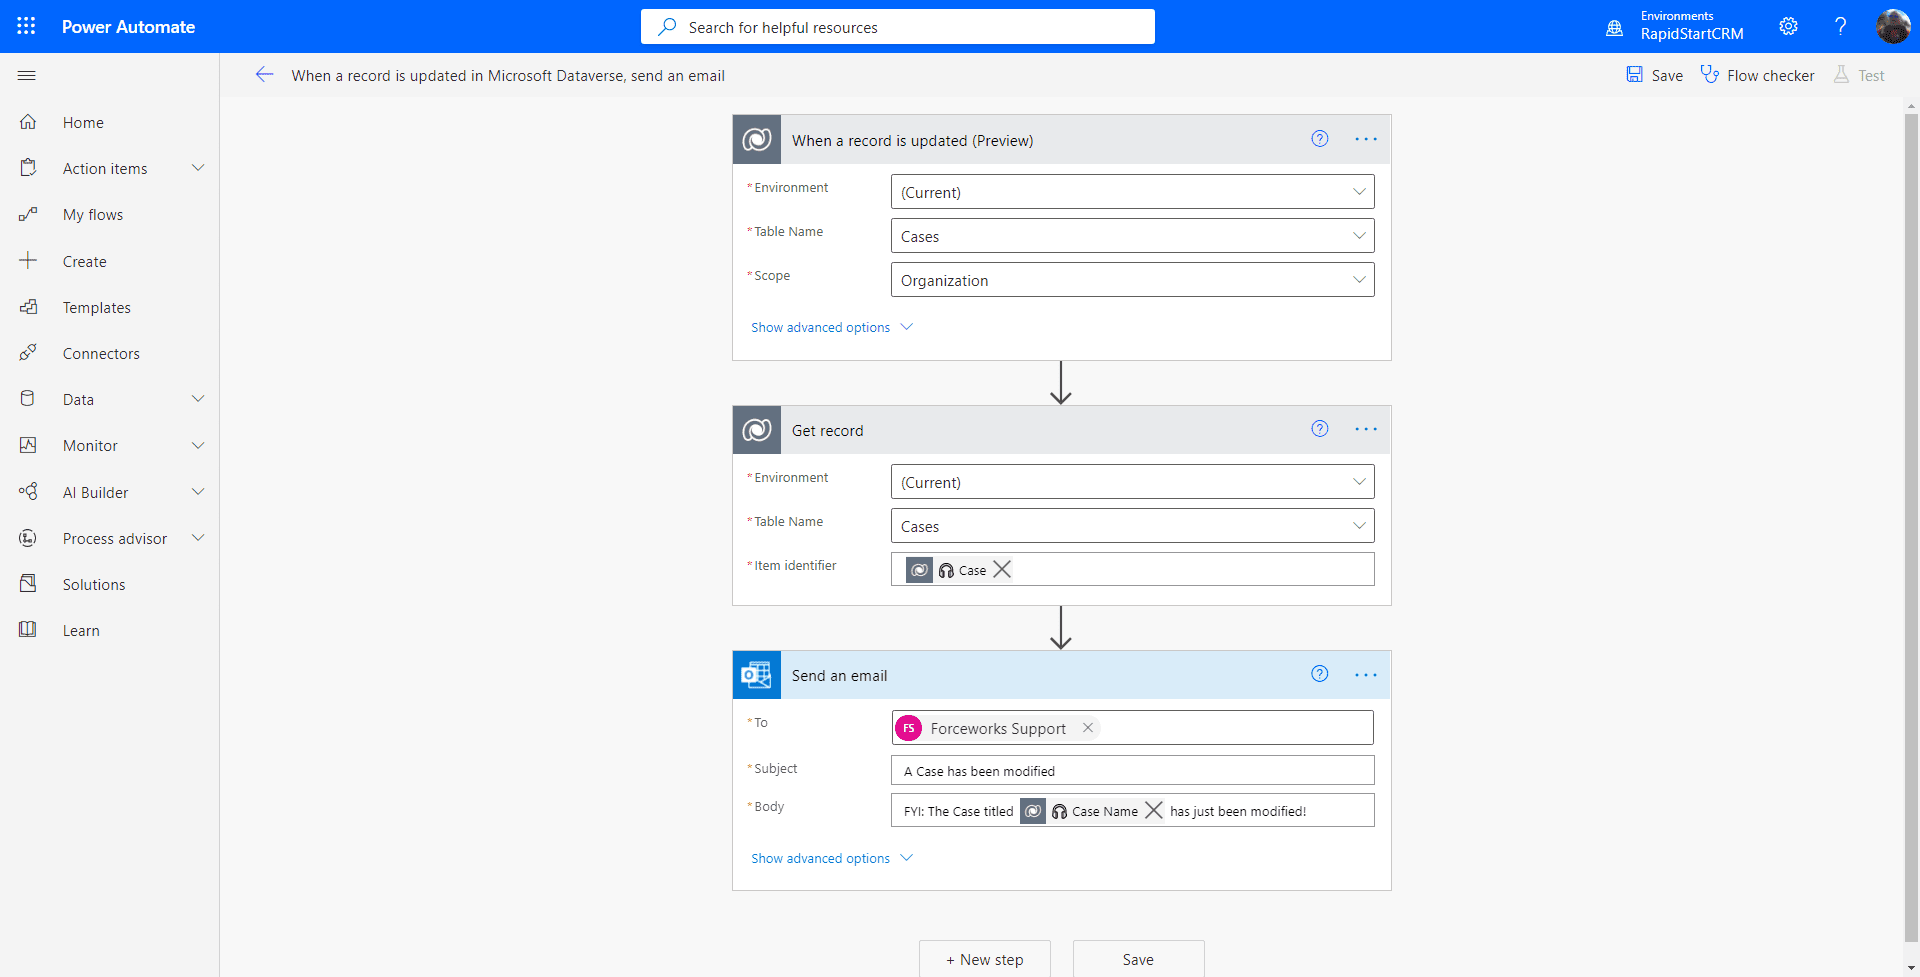
You can now click the “Save” button, and if there is no alert next to the Flow Checker, your Flow will be activated. If there is an alert, you made a mistake somewhere. So let's test this Flow now, by clicking on “Test” in the upper right. We're going to perform our test Manually, so select that option and click “Test”.
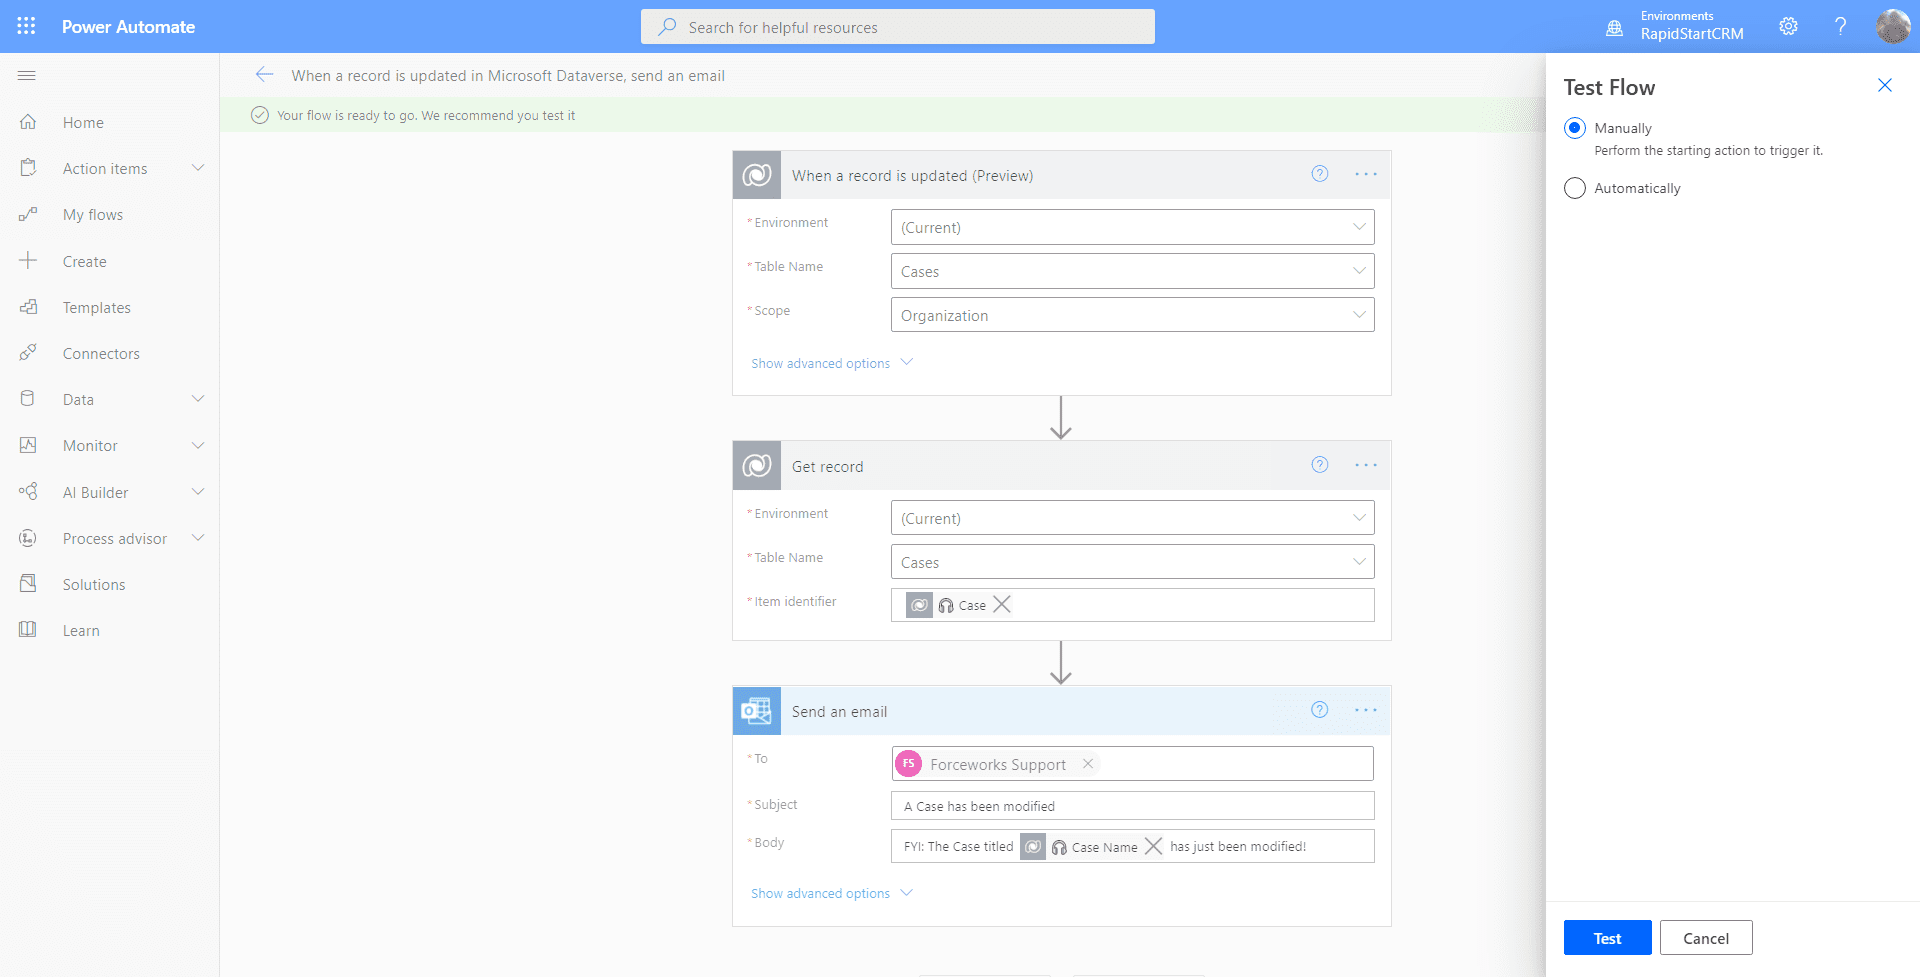
Open a new tab in your browser, go to RapidStart CRM and make any change to any case record and save it. Then go back to the Flow tab. You should see the below screen.
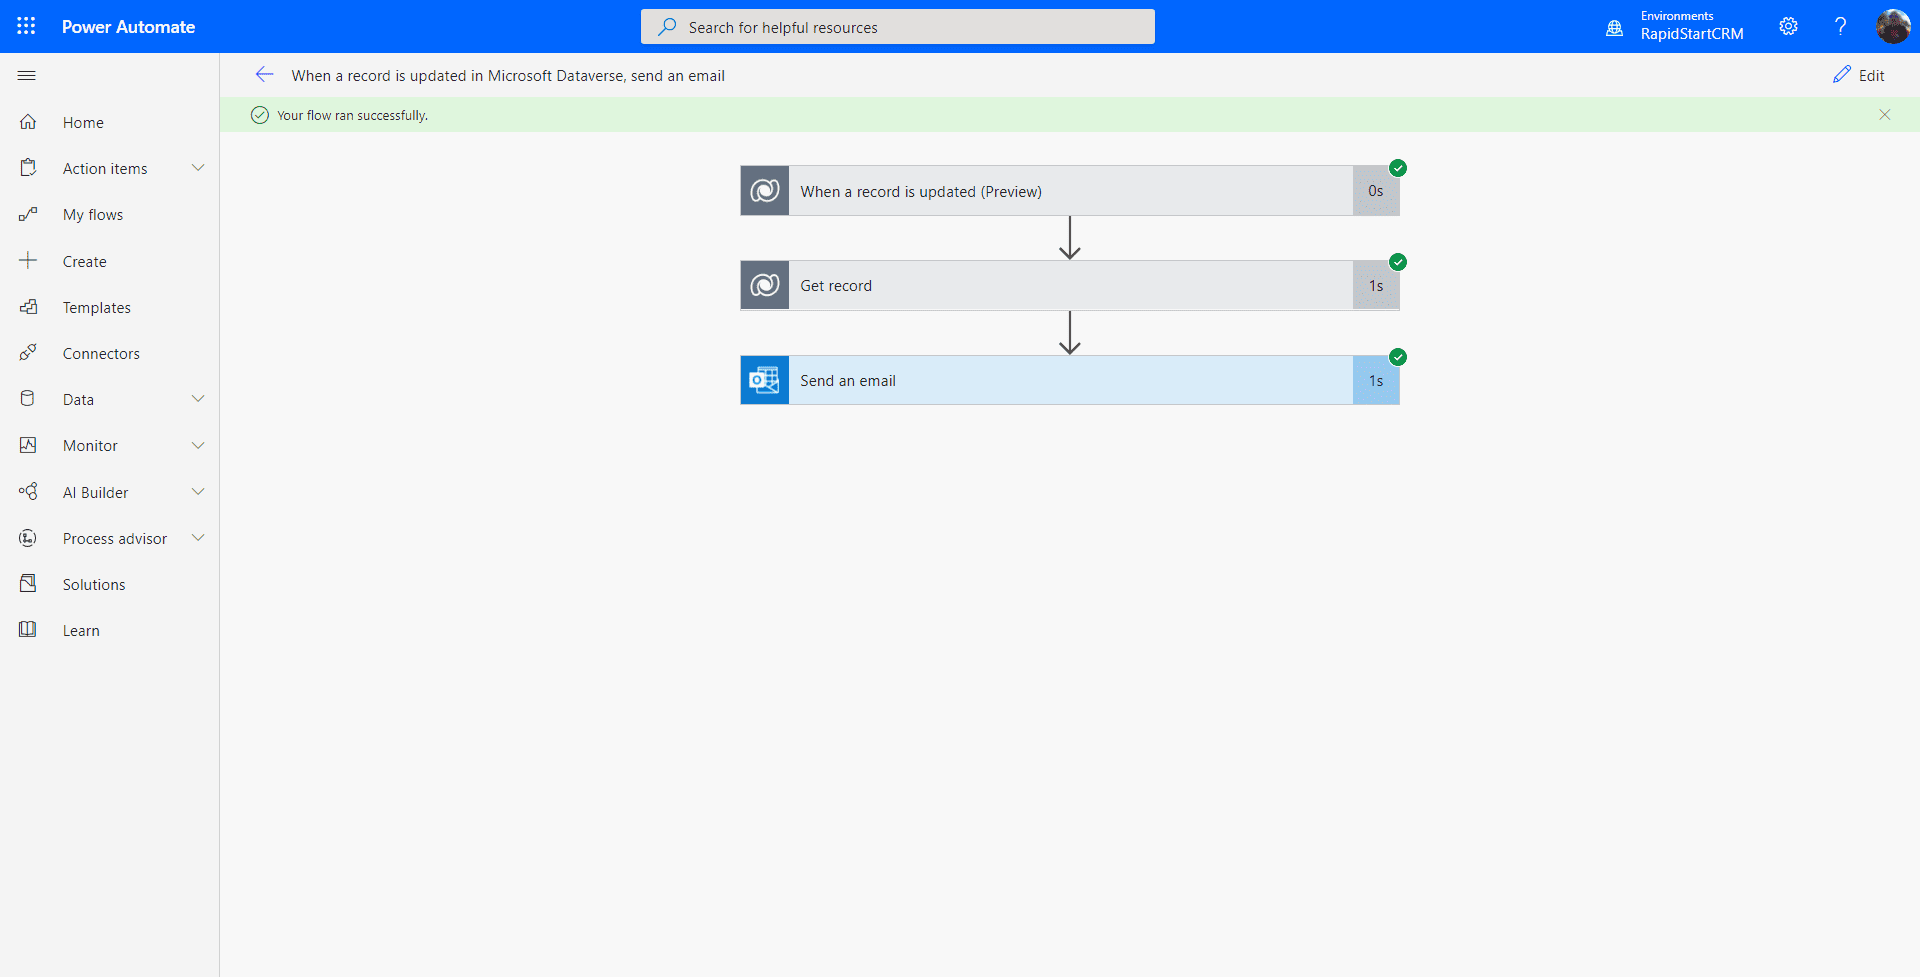
If you see all green checks on the steps… congratulations, you have built your first Power Automate Flow for RapidStart CRM! But just to make sure, check that your recipients did indeed get the email :)
Summary
One of the things I noticed while creating this tutorial is that the Template uses some older versions of the connectors, but it will still work, and you got to try it. This flow may not be very practical as it will literally send an email every time anything on any case changes. But this was just to get you familiar.
If you wanted to dial it in a little better, you can edit the flow, and open the “show advanced options” on the first step, and add a filter like “Priority”. In that case, only when the Priority column changes on a Case, will the email be sent.
Ready to go further?
To learn how to create a Power Automate Flow from scratch, check out Part 2.